
How to Automate Appointment Reminders for Multi-Participant Bookings
Learn how to configure workflow triggers to automatically send appointment confirmations and reminders to primary contacts, secondary guests, or both.
Nexus Hub editorial · 5 min read
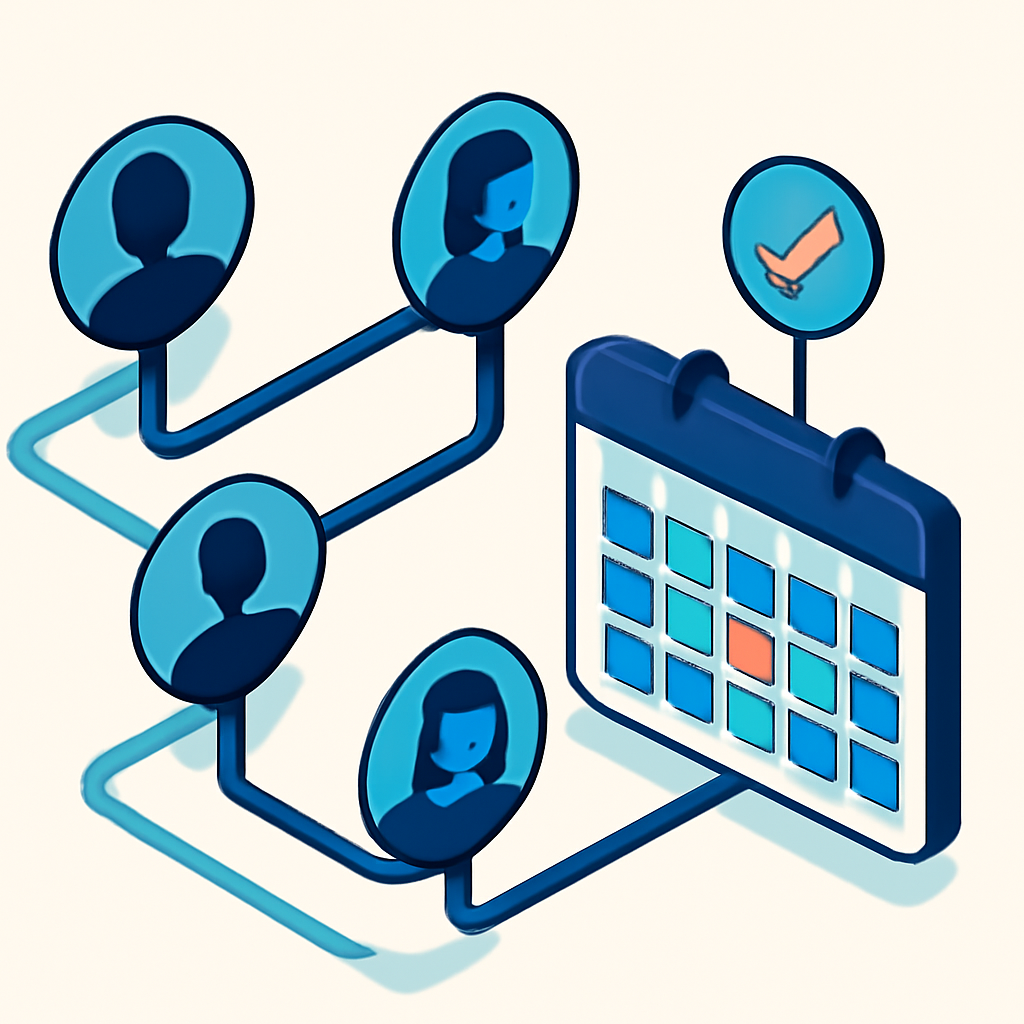
Managing appointments with multiple attendees has traditionally presented communication hurdles inside CRM workflows. When automated reminders and follow-up sequences are restricted to the primary contact who booked the session, secondary participants are left out of the loop. This operational gap frequently leads to missed preparation steps, unconfirmed attendees, and higher no-show rates for group calls.
Granular enrollment settings for appointment triggers eliminate this friction. By specifying whether an automation should target the main contact, secondary guests, or all participants, agencies can streamline communications for team consultations, group coaching sessions, and multi-stakeholder sales presentations.
Understanding Enrollment Options for Multi-Attendee Events
Multi-participant automation functionality applies directly to two primary calendar workflow triggers: Customer Booked Appointment and Appointment Status. When building automations around these events, administrators can select the exact audience that should enter the workflow execution queue.
The platform offers three distinct target options within trigger settings:
- Contact only: Restricts workflow enrollment exclusively to the primary contact who initiated the booking.
- Contact and guests: Enrolls the main contact and generates individual workflow executions for every added guest tied to the calendar record.
- Guests only: Skips the primary contact entirely and processes only the secondary attendees through the workflow actions.
When selecting the combined contact and guests setting, the automation engine creates separate participant executions. This ensures that every attendee receives personalized email and SMS notifications directly, rather than relying on the booking holder to manually forward details.
Handling Trigger Timing and Late Guest Additions
Understanding the exact moment workflow triggers execute is critical for maintaining accurate guest communication. Triggers operate on a point-in-time snapshot. When a calendar event occurs, the system evaluates who is attached to the appointment record at that precise second and enrolls those specific records.
If additional guests are added to an existing appointment after the initial booking trigger has already fired, those newly added participants will not be retroactively pulled into the active workflow. The initial trigger event has already passed, meaning late additions bypass those automated actions.
Important: Guest enrollment occurs strictly at the time the trigger fires. If your client onboarding process frequently involves adding team members days after a booking is finalized, design secondary workflows using status updates to catch late-added attendees.
Selecting the Correct Audience for Agency Workflows
Choosing the appropriate enrollment audience depends entirely on the operational goal of the automated sequence. Aligning trigger selection with communication purpose keeps customer inboxes clean and prevents unnecessary message duplication.
Consider these guidelines when configuring your calendar automations:
- Use Contact Only for billing confirmations, receipt distributions, or preliminary intake forms that require attention from only the primary decision-maker.
- Use Contact and Guests for general calendar invitations, meeting access links, venue directions, cancellation alerts, and pre-meeting reminder sequences.
- Use Guests Only for specialized attendee onboarding paths, preparation homework tailored specifically to team participants, or internal stakeholder updates where the main organizer requires a separate, high-level message path.
Configuring Multi-Participant Triggers Step by Step
Updating existing appointment sequences or building new multi-attendee workflows requires only a few configuration adjustments inside the workflow builder.
- Open your workflow builder and select an existing automation or create a new workflow.
- Add a trigger for either Customer Booked Appointment or Appointment Status.
- Locate the workflow enrollment configuration setting inside the trigger setup panel.
- Select your target audience: Contact only, Contact and guests, or Guests only.
- Save the trigger settings to apply the selection.
- Build out your workflow actions, including SMS reminders, wait steps, email notifications, and internal tasks.
- Publish and test the workflow using a test calendar event with multiple guest addresses.
Reviewing active appointment workflows ensures that all participants receive timely, relevant information without operational friction or manual forwarding.
Need help applying this to your account?
Ask inside Nexus Hub — Charles is live Mon, Wed and Fri.
Measuring Email Link Performance: A Practical Guide for HighLevel Agencies
Structuring HighLevel Sales Pipelines for Clear Revenue Tracking
Building and Deploying Lead Generation Funnels in HighLevel Fast
Nexus Hub is an independent community and educational resource. It is not affiliated with, endorsed by, or sponsored by HighLevel.