
How to Attach and Reuse Media Storage Assets in Workflow Actions
Direct attachment from media storage simplifies workflow creation by keeping file versions consistent and preserving media links across duplicated actions.
Nexus Hub editorial · 4 min read
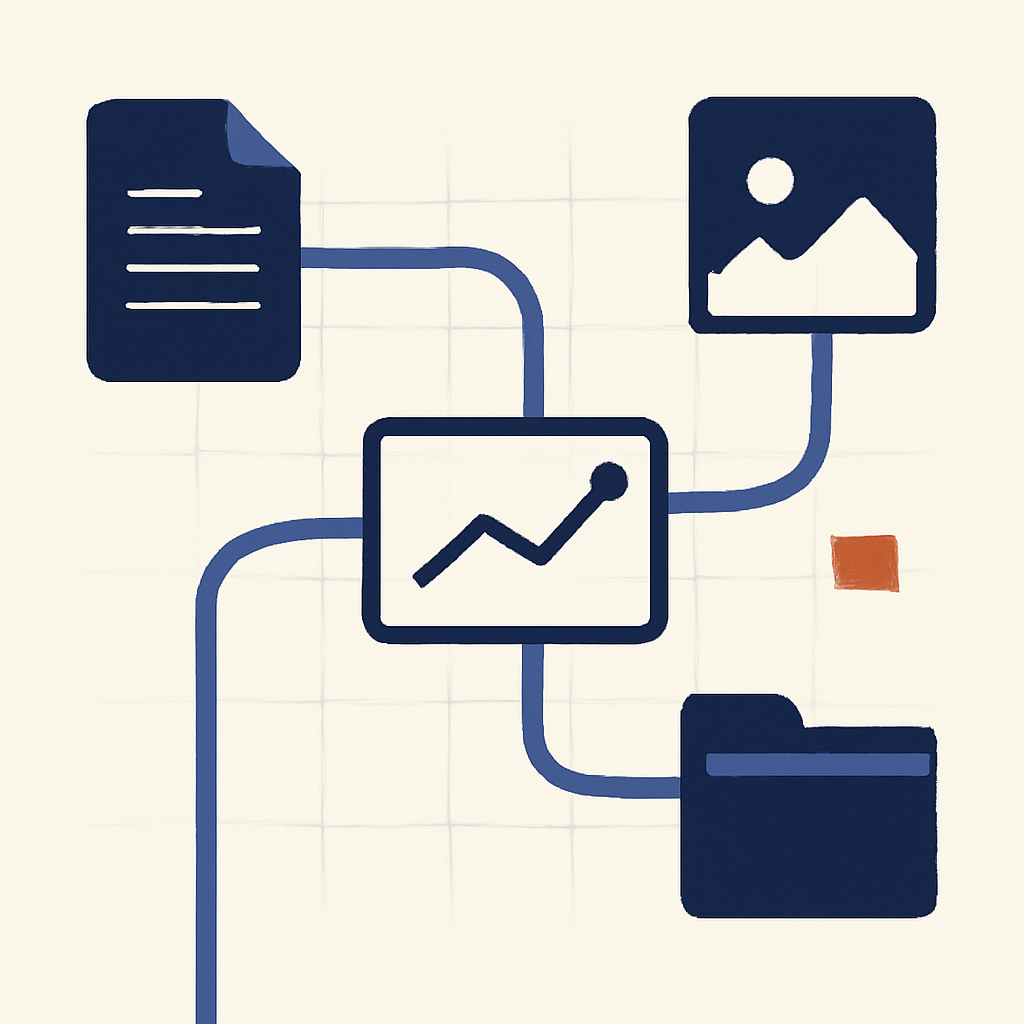
Building complex automation sequences often requires attaching resources—such as onboarding guides, contract templates, or promotional graphics—to automated emails and communication steps. In legacy workflow configurations, managing these attachments required uploading the same document repeatedly for each individual action or manually copying and pasting static URLs from the media library into action configuration fields.
This manual process introduced unnecessary friction into agency operations. Managing individual file links increased the likelihood of broken assets, outdated documents being sent to contacts, and excessive administrative overhead when maintaining active campaigns. Integrating direct media library access into workflow actions resolves these inefficiencies by standardizing asset management across all automated steps.
Attaching Media Directly Within Workflow Actions
When editing any workflow action that supports file attachments, operators can choose an asset directly from the sub-account media storage or upload a new file from their local drive. Selecting a file directly from media storage ensures that team members use centralized, approved media assets without duplicating files across the system.
- Open the specific workflow action requiring a file attachment.
- Click the attachment option inside the action configuration drawer.
- Choose whether to select an existing asset from media storage or upload a new local file.
- Select your asset and save the action once system validation completes.
Once selected, the attachment becomes natively bound to that specific action step, allowing the file reference to persist across administrative updates.
System Validation and Asset Persistence Behavior
Understanding how media attachments behave during system validation and workflow cloning helps maintain operational consistency across sub-accounts.
File validation occurs immediately upon asset selection. If a selected document exceeds maximum file size limits or uses an unsupported file extension for that specific action type, the interface flags the issue immediately with an inline error. This immediate feedback prevents configuration errors from going unnoticed until runtime.
Always check action-specific file type restrictions before uploading assets to ensure seamless execution across all channels.
When an action or an entire workflow is duplicated, attached media assets carry over automatically to the duplicated steps. This persistence eliminates the need to manually re-attach files or re-enter links when building out repetitive sequence branches or duplicating proven workflows across client accounts. Existing active workflows continue to operate normally without requiring asset re-linking.
Operational Advantages for Workflow Management
For agency teams managing high-volume sub-accounts, small mechanical efficiencies compound into substantial operational time savings over time.
- Centralized Asset Control: Updating a master document in media storage keeps content standardized rather than creating scattered file duplicates.
- Reduced Configuration Errors: Eliminating manual URL copy-pasting prevents broken links and formatting issues inside outbound messages.
- Faster Workflow Construction: Duplicating steps or cloning sequence branches preserves attached assets, shortening workflow setup time.
- Clearer Visual Audit Trails: Team members can quickly inspect attached media inside action settings without reviewing raw code or external links.
Implementation Best Practices for Agency Teams
To maximize the efficiency of reusable media attachments, establish standardized organizational protocols within your team workflows.
- Organize master asset files in dedicated folders within the media library prior to building new workflow sequences.
- Verify file sizes and extensions before uploading assets to prevent inline validation blocks during action configuration.
- Audit cloned or imported workflows during initial testing to confirm attached files match current brand assets.
- Remove outdated file duplicates from media storage periodically to maintain a clean workspace for workflow operators.
Need help applying this to your account?
Ask inside Nexus Hub — Charles is live Mon, Wed and Fri.
Optimizing CRM Pipeline Management with Dropdown Access and Custom Stage Colors
Automating CRM Custom Field Updates From Membership Intake Forms
Managing Native Image Alt Text in HighLevel Social Planner Workflows
Nexus Hub is an independent community and educational resource. It is not affiliated with, endorsed by, or sponsored by HighLevel.