
How to Do WhatsApp Business Onboarding in the Platform (Step by Step)


We recently published a short walkthrough that highlights a powerful onboarding feature inside the platform, and in this article we’ll expand on that step-by-step process so you can confidently onboard your customers to WhatsApp Business. The original walkthrough was created by Andrew George, and we’ll follow the same clear, practical approach he used while adding extra context, examples, and troubleshooting tips so you and your team can finish setup quickly and start messaging leads the right way.
Table of Contents
- Why this WhatsApp onboarding matters
- What to expect from this article
- Quick overview of the onboarding flow
- Step-by-step walkthrough
- How the “What’s Next” checklist simplifies onboarding
- Practical examples and scenarios
- Troubleshooting and common issues
- Compliance and approval tips
- Best practices for teams using WhatsApp inside the platform
- Testimonials
- FAQ
- Conclusion and next steps
Why this WhatsApp onboarding matters
WhatsApp Business has become one of the fastest ways to reach customers and manage real-time conversations. But the technical steps—buying a phone number, approving message templates, wiring up a chat widget, and connecting messages to workflows—can slow down adoption if they’re not clear. The onboarding flow built into the platform removes that friction by guiding users through each required step, tracking progress, and linking them directly to the pages where actions are completed.
In practical terms, that means less back-and-forth with clients, fewer setup calls, and a faster path to active conversations. For growing teams, simplicity and predictable setup are what free up time to focus on customer acquisition and service delivery.
What to expect from this article
We’ll walk through the full onboarding journey you’ll find in the platform’s WhatsApp area, explain the purpose of each step, and give tips and sample messages you can use. We’ll also cover common issues, approval guidance for templates, and recommendations for integrating WhatsApp with your booking flows and workflows. At the end, you’ll find a FAQ section that answers the most common questions we get from teams onboarding customers.
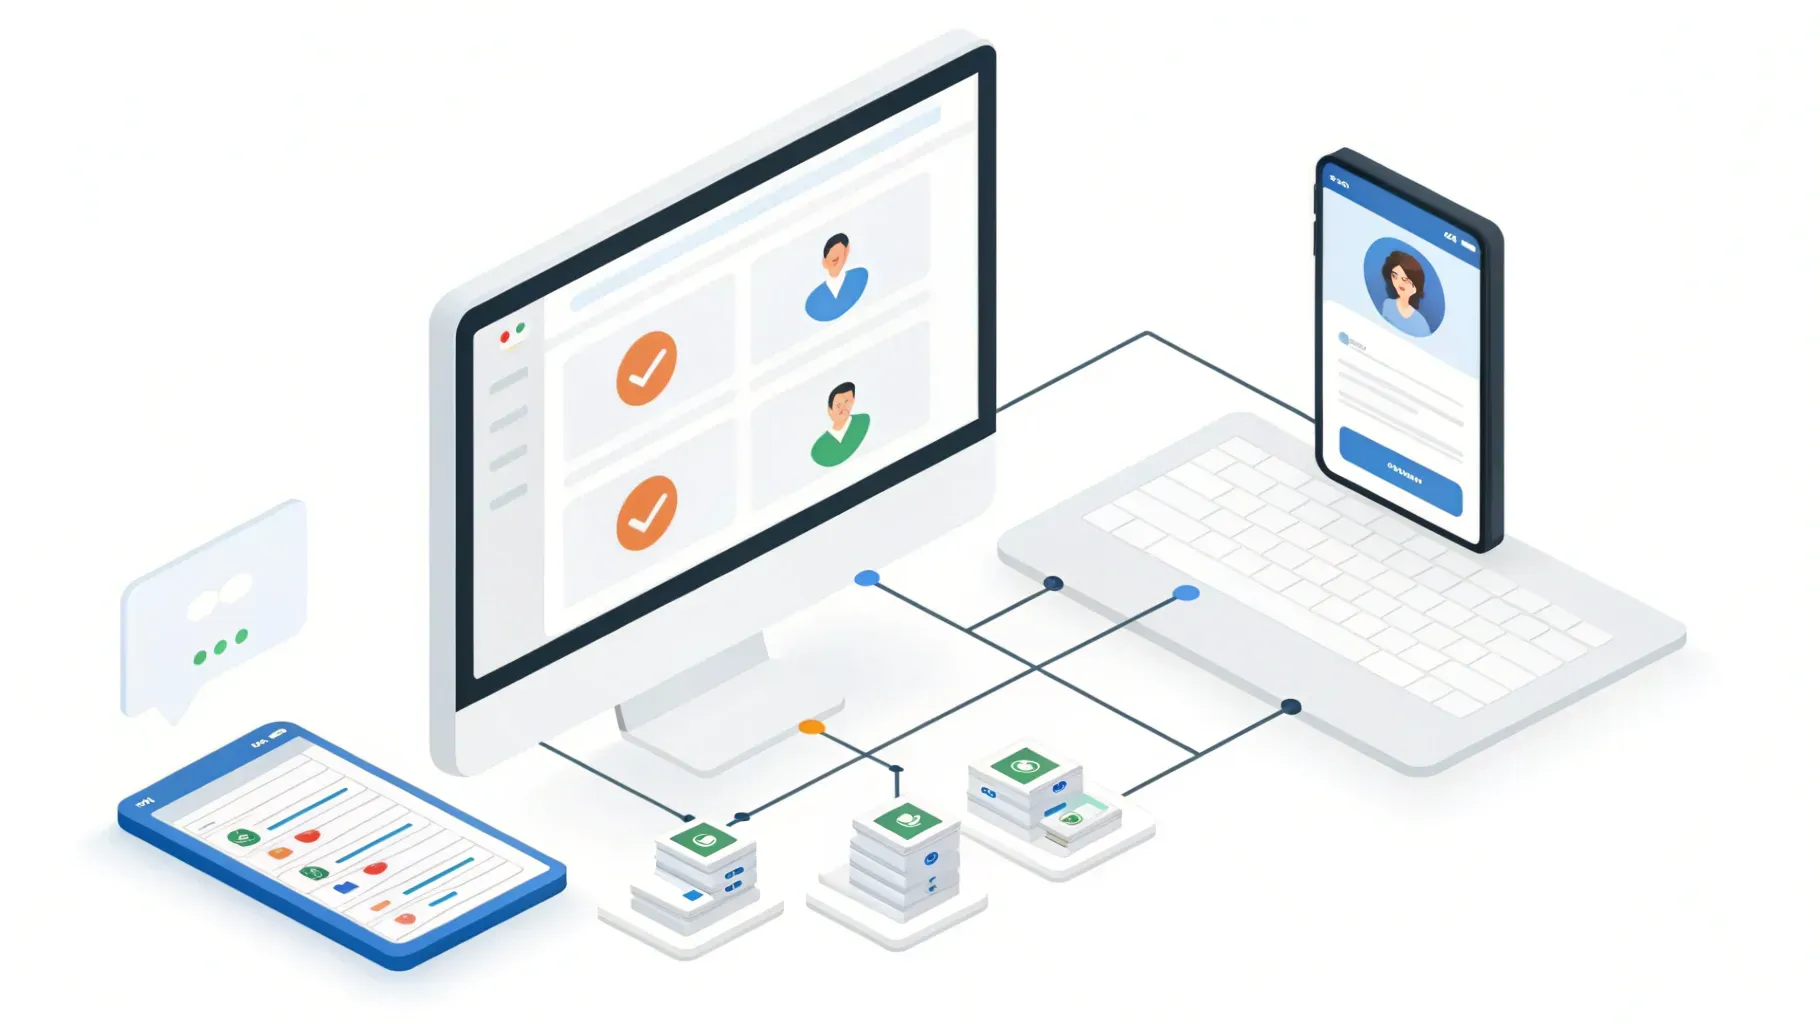
Quick overview of the onboarding flow
Once a user opens the platform, goes to Settings → WhatsApp, and purchases a phone number, a “What’s Next” onboarding guide appears in the top-right corner. That guide lists a short checklist of actions each customer should complete:
- Create your first message template
- Integrate the chat widget for the WhatsApp channel
- Send your first bulk WhatsApp campaign
- Create your first appointment booking flow
- Send your first WhatsApp message
- Send replies to WhatsApp via workflow
Each item links to the relevant area of the WhatsApp manager so users can complete the task immediately. As steps are completed, the checklist updates to show progress. There’s no special setup required to enable this guide—it appears automatically after WhatsApp is purchased and configured.
Step-by-step walkthrough
Step 0 — Before we start: prerequisites and mental checklist
Before you begin, make sure you have the following ready. These are the basic prerequisites for a smooth onboarding experience:
- A verified business account on the underlying messaging provider (we’ll refer to this as your business messaging account).
- A company phone number that can be used for WhatsApp messaging (purchased inside the platform during the setup flow).
- Admin access to your account in the platform so you can complete the WhatsApp setup.
- Basic customer consent and opt-in processes in place—most regions require clear opt-in before sending promotional or bulk messages.
With those items in place, navigate to Settings → WhatsApp in the platform. After purchasing and linking a number, the “What’s Next” guide appears in the top-right corner. Click it to begin the checklist.
Step 1 — Create your first message template
Message templates are pre-approved message formats for initiating conversations or sending transactional updates. Templates are required for most outbound messages that are not a direct reply to a user-initiated chat. The onboarding guide includes a direct link to the message templates area.
Why templates matter:
- They keep your messages consistent and compliant.
- They speed up approval, so you can send messages at scale.
- They allow personalization with variables (like {first_name}, {appointment_date}).
How to create a strong template:
- Pick a clear use case—appointment reminders, payment confirmations, shipping updates, or opt-in notices.
- Keep the language simple and professional. Avoid promotional wording if you’re sending transactional content.
- Include placeholders for personalization (e.g., “Hi {first_name}, your appointment is confirmed for {date} at {time}.”).
- Submit the template and wait for approval. This is usually quick but can take longer in some cases—plan accordingly.
Example templates you can start with:
- Appointment confirmation: “Hi {first_name}, your appointment is booked for {date} at {time}. Reply YES to confirm or NO to reschedule.”
- Payment reminder: “Hello {first_name}, your invoice #{invoice_number} is due on {due_date}. Pay now or reply HELP for assistance.”
- Shipping update: “Good news, {first_name}! Your order #{order_id} has shipped and will arrive by {delivery_date}.”
Tip: Keep the first few templates minimal and focused on essential business processes. As you gain confidence, expand into campaigns and richer automation.
Step 2 — Integrate the chat widget for the WhatsApp channel
The chat widget lets visitors message your business directly from your website using WhatsApp. The onboarding guide links to the widget integration area so you can add WhatsApp as a channel in your site’s chat widget.
Why the widget is useful:
- It converts website visitors into conversations without forcing them to switch apps manually.
- It gives a familiar, quick way for customers to reach you using the app they already use daily.
- It’s an easy way to drive inbound chat volume to the same inbox you’re using for campaigns and workflows.
Integration checklist:
- Open the chat widget settings and enable WhatsApp as a channel.
- Configure the default message that opens in WhatsApp (e.g., “Hi, I have a question about {service}”).
- Test the widget on a staging page to ensure the chat opens correctly and messages route to your inbox.
- Make sure your business hours and auto-response behavior are set so customers know when to expect replies.
Example configuration for a local service business:
- Display label: “Message us on WhatsApp”
- Open message: “Hi, I’m interested in scheduling a consultation for {service}. Can you help?”
- Auto-response: “Thanks for reaching out! We’ll respond within 2 business hours.”
Step 3 — Send your first bulk WhatsApp campaign
Once templates are approved and the widget is active, it’s time to test a small bulk campaign. The onboarding guide points users to the bulk campaign composer so they can create and schedule messages.
Best practices for bulk campaigns:
- Only message contacts who have explicitly opted in to receive WhatsApp messages from you.
- Use approved templates for the message content when initiating chats.
- Start small—test with a segment of a few dozen or a few hundred contacts before scaling up.
- Segment your audience to keep messages relevant (e.g., appointment reminders only to booked customers).
- Include a clear call-to-action and an easy opt-out mechanism if applicable.
Sample small campaign workflow:
- Segment contacts who booked in the last 30 days and opted into WhatsApp.
- Use an appointment follow-up template asking for feedback or offering a discount for a future booking.
- Send during business hours and monitor replies for quality and compliance.
Tip: Many teams treat their first campaign as both a test and a soft launch. Use it to confirm template approvals, delivery rates, and reply routing into your inbox.
Step 4 — Create your first appointment booking flow
Integrating WhatsApp into appointment booking makes scheduling more conversational and can increase conversions. The onboarding guide links to the flow builder so you can include WhatsApp messages as steps in your booking process.
Key benefits of a WhatsApp-enabled booking flow:
- Customers can receive booking confirmations, reminders, and rescheduling options via WhatsApp.
- Two-way messaging reduces no-shows by making it easier to confirm or reschedule.
- Automated reminders cut down on manual follow-ups by your team.
How to structure a booking flow:
- Start with the booking trigger (a web form submission or a chat widget booking request).
- Send an initial confirmation template immediately after the booking.
- Add a reminder 24–48 hours before the appointment using a template with date/time variables.
- Include a “Need to reschedule?” quick-reply option that triggers a workflow for rescheduling.
- Send a post-appointment follow-up for reviews or feedback.
Example message sequence for a dentist’s office:
- Booking confirmation: “Hi {first_name}, your dental checkup is confirmed for {date} at {time}. Reply YES to confirm.”
- 24-hour reminder: “Reminder: Your appointment is tomorrow at {time}. Reply RESCHEDULE to pick a new time.”
- Follow-up: “Thanks for visiting! If you enjoyed your appointment, please leave a review.”
Step 5 — Send your first WhatsApp message
This step is about actually initiating a one-off conversation or confirming that live agent replies work correctly. The onboarding guide points users to the composer so they can test sending a direct message using an approved template or as a reply to an existing chat.
Testing tips:
- Start by sending messages to team members or test numbers to verify delivery and formatting.
- Check that variable fields populate correctly (names, dates, order numbers).
- Confirm message receipts and that the message thread appears in your shared inbox for agents.
Example first message to a test contact:
- “Hi {first_name}, this is a test message to confirm WhatsApp setup. Reply OK to let us know you received it.”
Tip: Use this step to finalize tone and language for real customers—decide whether messages should be formal, friendly, or neutral, and keep it consistent across templates.
Step 6 — Send replies to WhatsApp via workflow
Automated replies via workflows let you handle inbound chats with consistent responses, route conversations to the right teams, and trigger follow-up actions such as SMS, email, or internal task assignments. The onboarding guide links to the workflow builder so you can set up reply automation immediately.
Why workflows are essential:
- They ensure quick responses (e.g., auto-reply during off-hours).
- They let you escalate complex conversations to a human agent with all context attached.
- They automate common tasks like appointment confirmations, order updates, and lead nurturing.
Basic workflow setup for replies:
- Create a trigger for incoming WhatsApp messages.
- Set conditions to classify messages (keywords, contact tags, or message source).
- Add automated replies for common scenarios (e.g., welcome message, out-of-office, appointment confirmations).
- Route high-priority messages to specified team members using assignment steps.
Example automated reply flow:
- Trigger: Incoming WhatsApp message.
- Condition: If message contains keywords like “book” or “appointment,” send the booking automation and route to scheduling team.
- Else: Send general auto-reply and open a task for a team member to follow up within 2 business hours.
How the “What’s Next” checklist simplifies onboarding
The checklist is a small but strategic feature. Here’s why we like it and why it works for teams and clients:
- Visibility — It sits in the top-right corner so users always know where they are in the onboarding process.
- Actionable steps — Each item links directly to the page needed to complete the task, removing guesswork and navigation friction.
- Progress tracking — The checklist shows what’s done and what remains, which helps both admins and customers move through setup without confusion.
- Zero configuration — It appears automatically after WhatsApp is added, so there’s no additional admin work to enable it.
From a customer’s perspective, this means we can tell them: “Go to Settings → WhatsApp, purchase a number, and follow the What's Next checklist.” They’ll be guided through approval, widget setup, campaigns, and workflows with minimal hand-holding.
Practical examples and scenarios
Here are three real-world scenarios that show how the onboarding steps come together:
Local service business (plumbing, HVAC)
- Use the widget to capture urgent service requests from your website. Incoming messages create tickets and assign an on-call technician.
- Send appointment confirmations and 2-hour arrival windows using templates with time variables.
- Run a follow-up campaign asking for feedback with a discount for future services.
Medical or wellness clinic
- Automate appointment reminders and pre-visit forms using templated messages that include links to intake paperwork (linking externally is optional and must follow privacy policies).
- Route sensitive replies to a secure inbox or team member for handling patient questions.
- Use workflows to send post-visit care instructions and check-ins.
Retail or e-commerce shop
- Send shipping updates via approved templates and allow customers to reply for delivery instructions.
- Segment customers by recent purchases and use bulk campaigns to announce restocks or complementary products.
- Use auto-replies during high-traffic times to manage expectations and route urgent issues to a dedicated support queue.
Troubleshooting and common issues
Even with a guided checklist, occasional problems can arise. Here are common issues and how to resolve them:
Template approval delays
Cause: The provider may need extra time to review templates, especially across languages and regions.
Fix: Start with essential templates and submit them early. Keep each template concise and free of promotional wording if it’s transactional.
Messages not appearing in the inbox
Cause: Routing rules or user assignment may be misconfigured.
Fix: Check workflow rules that handle incoming messages and ensure the chat widget channel is enabled. Confirm that team members have correct inbox access and notification settings.
Contacts receiving messages without consent
Cause: Segmenting or consent logic may be incorrect, or contact opt-in data may be missing.
Fix: Verify your opt-in process and only include contacts who explicitly consented. Audit your contact fields to confirm opt-in flags are set before running bulk campaigns.
Chat widget not opening WhatsApp
Cause: Incorrect widget configuration or missing WhatsApp channel setup.
Fix: Revisit the widget settings, ensure WhatsApp is enabled, and test on multiple devices and browsers. Confirm the configured phone number is the one linked to the messaging account.
Compliance and approval tips
Staying compliant is essential when messaging customers. Here are practical rules we follow to avoid trouble:
- Always collect explicit opt-in for WhatsApp messaging (a checkbox, form field, or recorded verbal consent).
- Use pre-approved templates for outbound, non-user-initiated messages.
- Keep recorded customer interactions and preferences up to date in your contact records.
- Respect local regulations around promotional content and message frequency.
Remember: Good consent practices protect your deliverability and customer relationships. If in doubt, favor clarity and permission over aggressive outreach.
Best practices for teams using WhatsApp inside the platform
We recommend the following operational practices for smooth adoption:
- Define roles and responsibilities for message handling so every inbound chat has an owner.
- Set distinct templates and tones for transactional vs. promotional messages.
- Monitor campaign performance and reply times to improve customer experience.
- Train staff on privacy and acceptable messaging behavior to avoid mistakes that could cost access to messaging features.
- Use the onboarding checklist to confirm all steps are complete before launching to large audiences.
Testimonials
“The checklist removed weeks of back-and-forth with clients. We sent our first booking confirmations within days and saw no-show rates drop by 30%.” — Local clinic manager
“Our team liked that hooking up the chat widget felt seamless. Customers now message us directly from the site and we close more leads.” — Small business owner
FAQ
Q: Where do we start once we purchase a WhatsApp number?
A: After purchasing the number inside the platform, click the “What’s Next” guide in the top-right of the WhatsApp settings. Follow each linked step: create templates, integrate the widget, test messages, and set up workflows.
Q: Do message templates need to be approved?
A: Yes. Templates typically require approval before they can be used for outbound campaigns. Submit essential templates first and keep them simple to speed approval.
Q: Can we use WhatsApp for appointment reminders and marketing campaigns?
A: Yes. Use approved templates for appointment reminders and ensure customers opt in for marketing messages. Segment your audience so messaging remains relevant and compliant.
Q: What if a customer replies with a question that needs human support?
A: Build workflows that detect keywords or assign high-priority messages to human agents. You can set routing rules to notify the proper team member so they can take over the conversation.
Q: How do we handle opt-outs?
A: Respect opt-out requests immediately. Provide a simple method for customers to stop messages, and update their contact records so they’re excluded from future campaigns.
Q: Is there any special setup required to use the “What’s Next” checklist?
A: No special setup is required. The checklist appears automatically after WhatsApp is purchased and configured within Settings → WhatsApp. It stays visible so users can track progress and return to any step if needed.
Conclusion and next steps
Onboarding customers to WhatsApp doesn’t have to be complicated. The built-in “What’s Next” checklist in the platform breaks the process into clear, actionable steps—create templates, integrate the widget, send a test campaign, build booking flows, and automate replies. These steps guide you from purchase to live messaging in a predictable way.
We recommend the following immediate next steps:
- Navigate to Settings → WhatsApp in the platform and purchase a phone number if you haven’t already.
- Click the “What’s Next” guide and follow each step in order, starting with simple templates.
- Test messages with your team before sending to customers.
- Set up workflows for replies and assign owners for inbound conversations.
- Monitor results, gather feedback, and iterate on message content and automation to improve response times and conversion.
If you run into any issues, check the platform’s help documentation or reach out to your support team. The onboarding tools are designed to reduce setup time, cut down on technical headaches, and let you focus on what matters most—building relationships with customers and growing your business.


