
Import Google Contacts to Your Platform: Actions & Triggers in Workflows


In our tutorial video, we walked through how to connect Google Contacts with your CRM and automate the flow of contact data using workflow triggers and actions. In this article we’ll expand on that walkthrough, show practical examples, explain best practices, and give clear, step-by-step instructions you can follow to keep your contacts synchronized, avoid duplicates, and automate contact organization across teams.
We’ll cover two simple ways to connect Google Contacts, how triggers and actions work inside workflows, real-world automation examples (like saving contacts from booked appointments or website forms), how to map fields and handle conditional logic, plus troubleshooting tips and a FAQ section. Our goal is to help you save time, reduce tech headaches, and keep your contact data clean and organized—so your team can focus on what matters most.
Table of Contents
- Why sync Google Contacts with your CRM?
- Two ways to connect Google Contacts
- Understanding triggers: how the workflow starts
- Actions: what you can do with Google Contacts inside workflows
- Example: Automating contact creation from booked appointments
- Mapping fields and using custom values
- Tagging and grouping for segmentation
- Use case: Website contact form submission
- Linking outside databases: Notion example
- Conditional logic and branching: avoiding duplicates
- Best practices for clean contact data
- Troubleshooting common issues
- Security and privacy considerations
- Practical examples to copy
- Measuring success and next steps
- Common pitfalls and how to avoid them
- Conclusion
- FAQ
- Final notes
Why sync Google Contacts with your CRM?
Keeping contacts in sync between Google Contacts and your CRM delivers practical benefits for any small business or busy team:
- Single source of truth: Keep staff, sales, and support working from the same contact records.
- Less manual entry: Automatically create or update contacts when customers book appointments or submit forms.
- Better segmentation: Add contacts to targeted groups (e.g., appointment attendees, website leads) so follow-ups are consistent.
- Fewer duplicates: Use conditional logic to find existing contacts before creating new ones.
- Faster onboarding: New contacts flow straight into the systems your team already uses (email, calendar, messaging).
Two ways to connect Google Contacts
There are two straightforward ways to set up the Google Contacts integration.
Option 1 — From Settings (Global Integration)
This method sets up Google Contacts for your entire location or account:
- Open your platform settings (usually bottom-left or under a settings area).
- Navigate to Integrations and find Google Contacts in the list.
- Click Connect and follow the authorization wizard to select your Google account.
- Complete authentication—note that this works with any Google account; “It doesn't have to be a paid Google account.”
Use this option when you want Google Contacts available for workflows across your organization without setting it up inside each workflow manually.
Option 2 — From Inside a Workflow (Per-Workflow Integration)
You can also connect Google Contacts while building a workflow:
- Open Automation and go to Workflows.
- Create a new workflow or open an existing one.
- Add a trigger or action and search for “Google.”
- You can connect your Google account from that dialog if it’s not already connected.
This method is useful when you want to limit the integration to a specific automation, or if you prefer connecting services as you build processes.
Understanding triggers: how the workflow starts
Triggers are events that start a workflow. With Google Contacts, the current trigger options include:
- New Contact — fires when a new contact is created in Google Contacts.
- New Group — fires when a new contact group is created in Google Contacts.
Important operational detail: “That means every five minutes the system re-checks and then updates the data to stay up to date at all times.” In other words, the system polls Google Contacts periodically (about every five minutes) to detect new contacts or groups and trigger automations. When you add a trigger you’ll often be asked to run a test to pull sample metadata—this test is required so later actions can reference the trigger’s dynamic values.
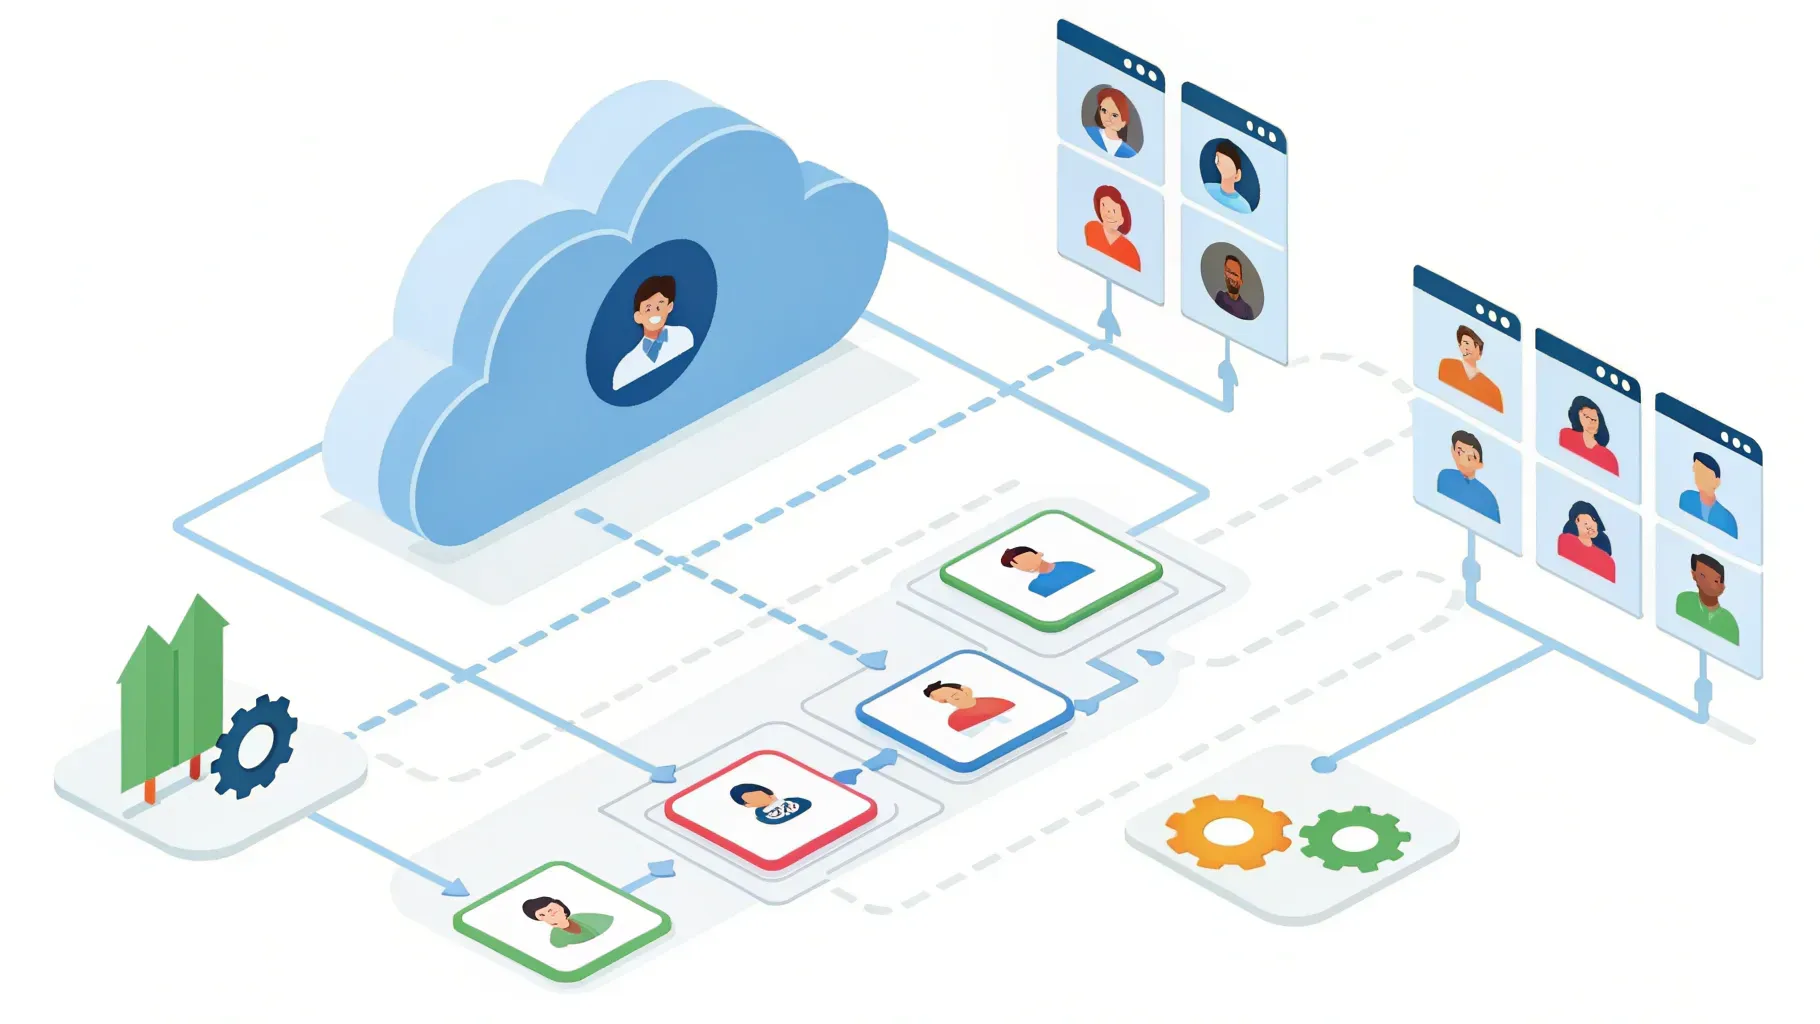
Actions: what you can do with Google Contacts inside workflows
Actions are the steps executed after a trigger fires. The Google Contacts actions you can use typically include:
- Create Contact Group — make a new labeled group in Google Contacts.
- Find Contact — search Google Contacts by email, full name, phone, or other fields.
- Create Contact — add a new contact in Google Contacts and map fields.
- Update Contact — modify an existing contact record.
- Add Contact to Group — place a contact into one or more contact groups.
- Find or Create Contact — combined logic to avoid duplicates by finding or creating in one step.
These actions give you granular control over contact data and let you build workflows that keep Google Contacts and your CRM synchronized.
Example: Automating contact creation from booked appointments
This is one of the most common and practical automations. When a customer books an appointment, we want to ensure their contact exists in Google Contacts—otherwise they should be created—and they should be added to an appointment-specific group for follow-up and segmentation.
Workflow overview
- Trigger: Customer booked appointment (a platform event).
- Action: Find Contact in Google Contacts, searching by phone number or email.
- Branch 1: Contact Found — Add the contact to a “Booked Appointments” group.
- Branch 2: Contact Not Found — Create Contact, then add the newly created contact to the “Booked Appointments” group.
Step-by-step details:
- Start by creating a workflow and choosing “Customer booked appointment” as the trigger.
- Add the Find Contact action and choose a search field—email or phone number provide the most reliable unique matches. When selecting phone, map the phone value from the booking form by picking the custom value icon and selecting the phone field from the trigger data.
- After the Find Contact action runs, the workflow will automatically split into two branches: contact found and contact not found.
- On the Contact Found branch, add an action to Add Contact to Group (for example, “Booked Appointments with Tina” or a general “Booked Appointments” group).
- On the Contact Not Found branch, add Create Contact and map fields such as first name, last name, email, phone, company, and job title using the trigger’s custom values.
- After creating the contact, add another action to add that contact to the group. Use the newly created contact’s ID from dynamic data to reference the correct contact.
This approach prevents duplicates, organizes contacts by use case, and makes follow-up faster since you’ll have a pre-defined group for marketing, reminders, or onboarding sequences.
Mapping fields and using custom values
Field mapping is how we take data from a trigger (like a booking form) and insert it into a Google Contact record. Key points:
- Click the custom value (dynamic) icon to access data from the trigger event (e.g., contact first name, email, phone).
- Map required fields like first name, last name, and email. Include phone numbers where possible to improve Find Contact accuracy.
- You can map optional fields too: company name, job title, address, notes, and custom fields if your contact records support them.
- When adding a contact to a group after creation, use the contact ID returned by the Create Contact action (select it via dynamic values) so the platform targets the exact newly created record.
By consistently mapping the same fields from forms and booking events, you build a predictable and reliable sync between your platform and Google Contacts.
Tagging and grouping for segmentation
Groups and tags are essential for tracking how a contact entered your system and for running targeted follow-ups.
- Groups are ideal for organizing contacts into buckets like “Booked Appointments,” “Website Requests,” “Customers,” or “Co-workers.”
- Tags are useful for indicating source or context, e.g., “website_form,” “booked_demo,” “support_ticket.”
- Use conditional logic in workflows to apply tags dynamically based on trigger data. For example, if a contact came in through the website form, add a tag labeled “website request.”
When you map tags and groups at the moment of contact creation or discovery, you preserve the path a lead took to enter your system—this is invaluable for reporting and conversion analysis.
Use case: Website contact form submission
Another common scenario is when someone fills out a contact form on your website. We recommend this structure:
- Trigger: Form Submitted (select the website form used on your site).
- Action: Find Contact by email or phone.
- Branch: If Found — add to group “Website Requests” and maybe tag with “website_form.”
- Branch: If Not Found — create the contact, add to group, and add tag.
This flow keeps website contacts organized and ensures your sales or support team sees all inbound web leads in the same place.
Linking outside databases: Notion example
If you use Notion (or another database tool), you can trigger workflows based on changes there and sync those contacts into Google Contacts:
- Possible triggers from Notion: new database item, updated database item, new page comment, updated page, and more.
- Possible actions within Notion-connected workflows include creating or retrieving database items, adding a contact to a page, or updating records.
- When the Notion trigger fires, use the same pattern: Find Contact in Google Contacts, then create or update and add to the appropriate group.
This is useful if you track deals, project contacts, or client onboarding tasks in Notion—automatically syncing that information prevents duplication of effort and reduces manual updates across tools.
Conditional logic and branching: avoiding duplicates
Conditional logic is the backbone of reliable contact syncing. The usual pattern is:
- Find Contact →
- If Contact Exists → Update or Add to Group
- If Contact Does Not Exist → Create Contact → Add to Group
Why this works:
- Prevents duplicates: Searching by unique identifiers (email, phone) ensures we don’t create a new contact when one already exists.
- Keeps records accurate: If details change (a new phone number or email), you can update the existing contact instead of adding another record.
- Preserves context: Adding tags or groups based on source helps future segmentation and messaging.
Best practices for clean contact data
To get the most value from Google Contacts automation, follow these practical tips:
- Standardize fields on your forms: Use consistent labels (First name, Last name, Email, Phone) so mapping is predictable.
- Prefer unique identifiers: Email and phone are the best fields for finding matches. Use them in your Find Contact step.
- Test triggers and actions: Run the required trigger test when adding Google actions so the system has sample metadata to reference.
- Use groups for workflows: Add new contacts to clearly-named groups (e.g., “Website Leads,” “Booked Appointments”) so teammates understand their purpose.
- Use tags for source tracking: Tag contacts with where they came from—this helps later analysis without changing the contact’s group structure.
- Keep workflows simple and modular: Create separate automations for different sources (bookings, forms, external databases) so troubleshooting is easier.
- Document your logic: Keep a short description inside each workflow of why it exists and what fields it maps—this saves time when teammates inherit workflows.
Troubleshooting common issues
Encountering issues is normal the first few times you build automations. Here are solutions to common problems:
- Trigger didn’t fire: Confirm polling frequency—“the system re-checks every five minutes”—and ensure the event actually occurred in the source system.
- Incorrect or empty fields after creation: Re-run the trigger test to ensure sample data exists, then re-map fields and save the action.
- Duplicates created: Verify your Find Contact action searches on reliable unique identifiers (email or phone) and that conditional branches are correctly set up to prevent creation when a match is found.
- Contact not added to group: Ensure you are using the correct contact ID from the dynamic values and have selected an existing group or created one prior to adding contacts.
- Permission or connection errors: Reconnect Google Contacts from either settings or inside the workflow and grant the necessary permissions. Remember that any standard Google account will work.
Security and privacy considerations
When syncing contact data, keep these simple but important practices in mind:
- Limit permissions: Grant only the permissions necessary for the workflow to read/write contacts.
- Protect sensitive fields: Don’t map or transmit unnecessary personal data—map only what your team truly needs for follow-up and service delivery.
- Inform your contacts: Be transparent in your privacy policy about how contact information may be stored or synced across tools for service and communication purposes.
- Use secure accounts: Encourage team members to enable two-factor authentication on the Google accounts used to connect integrations.
Practical examples to copy
Below are template workflows you can replicate quickly:
Template A — Booking to Google Contacts (no duplicates)
- Trigger: Customer Booked Appointment
- Action: Find Contact by Email or Phone
- If Contact Found: Add Contact to Group “Booked Appointments”
- If Contact Not Found: Create Contact (map name, email, phone, company), then Add Contact to Group “Booked Appointments”
Template B — Website Form to Google Contacts with Tag
- Trigger: Website Form Submitted
- Action: Find Contact by Email
- If Contact Found: Add Tag “website_request” and Add to Group “Website Leads”
- If Contact Not Found: Create Contact, Add Tag “website_request,” and Add to Group “Website Leads”
Template C — Notion Database Item to Google Contacts
- Trigger: Notion Database Item Created or Updated
- Action: Find Contact by Email
- If Contact Found: Update Contact fields from Notion data, Add to appropriate Group
- If Contact Not Found: Create Contact using Notion fields, Add to Group
These templates are modular—use them as building blocks and adapt them to your specific business processes.
Measuring success and next steps
After you enable these automations, track a few simple metrics to confirm value:
- Number of contacts created automatically per week
- Reduction in duplicate contacts compared to before automation
- Time saved for staff previously entering contacts manually
- Open and response rates for outreach to newly-grouped contacts (to measure segmentation effectiveness)
Next steps to improve your automations:
- Refine matching rules (email + phone combination) to further reduce duplicates.
- Use tags to track marketing source and run targeted campaigns.
- Build reporting workflows that tally contacts per source and group for weekly summaries.
Common pitfalls and how to avoid them
We’ve seen a few repeated mistakes when people first set up contact synchronization. Avoid these to keep your data healthy:
- Relying only on names: Searching by name alone often leads to incorrect matches. Use email and phone when possible.
- Not testing with real data: Always run a trigger test and a full dry run to confirm mapping and behavior.
- Too many automations for the same event: Multiple workflows firing for one event can lead to race conditions. Keep one authoritative workflow per event type.
- Skipping group management: If you create groups dynamically without naming conventions, it becomes hard to understand what each group is for. Use clear names like “Booked Appointments — [Owner]” or “Website Leads — Form A.”
Conclusion
Syncing Google Contacts to your CRM through workflows transforms tedious manual work into reliable automation. By connecting Google Contacts—either globally in settings or per workflow—you can capture new contacts from booked appointments, website forms, or external databases, avoid duplicates with “find or create” logic, and segment contacts into groups and tags for faster, more effective follow-up.
We recommend starting with one simple workflow—booked appointments or a website form—and expanding from there. Keep mappings consistent, use email and phone for matching, and add tags and groups to preserve context. With this approach, your team will spend less time on data entry and more time on revenue-generating activities and customer care.
FAQ
Q: Do we need a paid Google account to connect Google Contacts?
A: No. The Google Contacts connection works with any Google account. “It doesn't have to be a paid Google account.” You can use standard free Gmail accounts to integrate contact syncing.
Q: How often does the system check Google Contacts for new data?
A: The system checks periodically to detect new contacts or groups. In our setup, “the system re-checks every five minutes,” which keeps your data up to date without manual intervention.
Q: What should we use to find a contact—email, name, or phone?
A: Email and phone are the most reliable unique identifiers. Names alone can produce false matches, especially for common names. For best results, search by email first, and consider fallback to phone where email is missing.
Q: How do we prevent duplicates?
A: Use a Find Contact action before creating a new contact. Search by email or phone, and only create a contact if no match is found. If a match is found, update the existing record or add the contact to the appropriate group.
Q: Can we map custom fields from our booking form to Google Contacts?
A: Yes. Use the custom value/dynamic field selector to map any data collected by your trigger (form fields, booking details) into Google Contact fields that exist in your contact schema. Map common fields like name, email, phone, company, and job title first.
Q: How do we add contacts to a specific Google Contacts group?
A: Use the Add Contact to Group action. When adding a newly created contact, use the contact ID from the Create Contact action as the target. For existing contacts, use the ID returned by the Find Contact action and select the desired group.
Q: What if a workflow is creating a contact but not adding it to the group?
A: Check that you are using the correct dynamic value for the contact ID (from the Create Contact step) and that the group exists. Re-run the workflow in test mode and inspect the action outputs to see what values were returned.
Q: Is it safe to sync contact data between systems?
A: Yes, when done thoughtfully. Limit permissions, only map fields you need, and follow basic security practices like enabling two-factor authentication on connected accounts. Be transparent in your privacy policies about how contact data is stored and used.
Q: Can we trigger workflows from other databases like Notion?
A: Yes. If you use a database tool, you can trigger workflows from database item creation or updates and use the same find/create pattern to sync contacts into Google Contacts. This makes it easy to keep a single contact record across tools.
Final notes
Automating Google Contacts with workflow triggers and actions is one of the highest-impact steps small teams can take to reduce busywork and improve customer follow-up. Start small, use consistent field mappings, rely on unique identifiers, and add clear group and tag conventions. If you follow these guidelines, your contact management will become more reliable, your data cleaner, and your team more productive.
We hope this guide helps you set up smooth, efficient contact sync automations for your business. If you want templates from our tutorial to copy, document your workflow logic, and run a few tests—the time invested up front will pay dividends in saved hours and fewer data headaches.


