
How to Import Audio and Video from Media Storage into HighLevel Courses
Learn how to use HighLevel’s "import from media storage" feature to add audio and video to course lessons without reuploading files. This guide covers setup, supported formats, and workflows to help agencies and creators manage content efficiently across subaccounts.

This guide explains how to use the "import from media storage" capability in HighLevel (GoHighLevel) to add audio and video to course lessons without reuploading files. It covers setup, step-by-step instructions, supported formats, common issues, and practical workflows for agencies and course creators who want consistent media management across subaccounts and automations.
What the "Import from Media Storage" Feature Is and Why It Matters
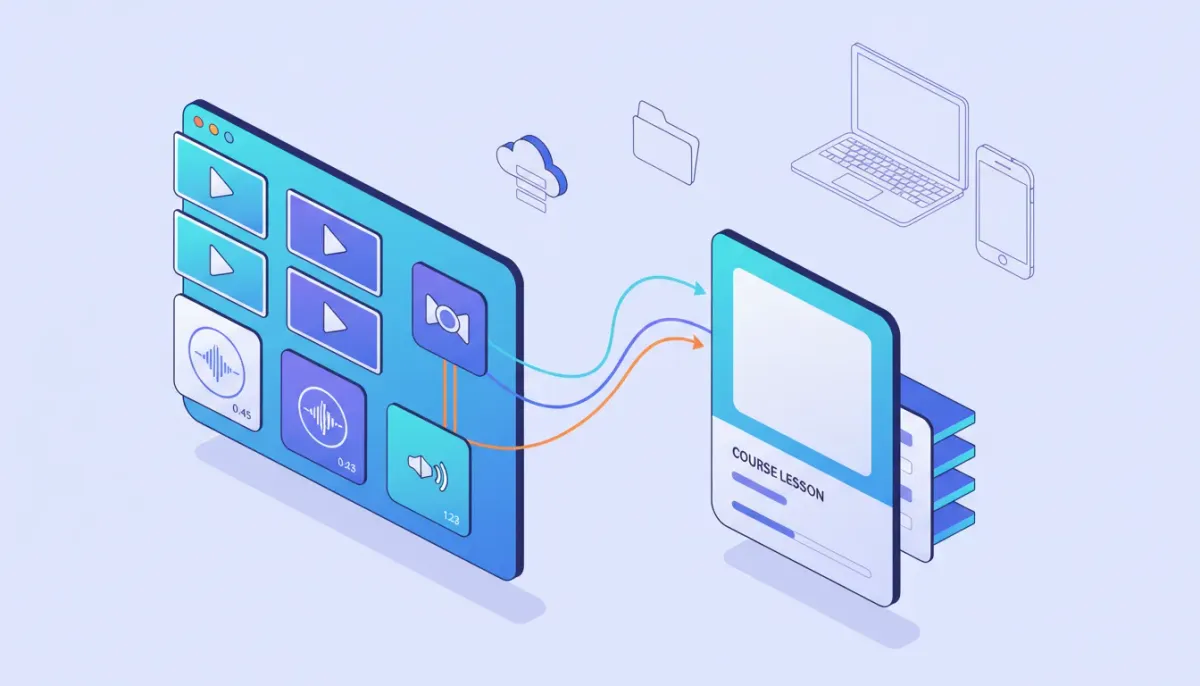
The import-from-media-storage feature lets you attach existing audio and video files stored in HighLevel's media library directly to course lessons. Instead of uploading the same content multiple times, you select a single asset from media storage and link it into any course lesson across an account or subaccount (depending on permissions). This reduces storage duplication, speeds up course creation, and makes version control simpler.
For agencies and SaaS operations using HighLevel as a central platform, the feature streamlines content distribution, saves bandwidth, and supports consistent branding across multiple client subaccounts.
Who Should Use This
- Agencies managing multiple client courses and needing a single source of truth for media assets.
- Course creators who repurpose webinar recordings, podcasts, or video lessons across products.
- Operations teams looking to integrate media assets into workflows, automations, and CRM-driven notifications.
- Marketing teams that need consistent thumbnails, intros, and outros across course modules.
Before You Start: Requirements and Permissions
- GHL account access: You need access to the account or subaccount where courses are hosted.
- Enable Labs feature: The import option is typically behind the Labs toggle. Ensure Labs is enabled for the agency or subaccount as required.
- User role: Your user role must allow editing courses and accessing media storage. Admin or course editor roles are usually required.
- Media availability: The media asset must already exist in the media library of the account you are importing from.
Step-by-Step: How to Import Media into a Course Lesson
- Enable the Labs toggle
Open the account settings and locate Labs. Turn on the Labs option that enables media import for courses. If you manage multiple subaccounts, enable this in both the agency and each relevant subaccount. - Open the Courses area
From the left navigation, go to Courses and select the course where you want to add media. If you need a new course, create it first. - Edit or create a lesson
Click into a module and select Create Lesson or Edit Lesson. This opens the lesson editor where content fields are available. - Choose Import from Media Library
Look for the option labeled Import from Media Library (or similar). Click it to open the media picker. The picker should display audio and video stored in your media storage. - Select an asset
Browse or search by filename or tags and pick the video or audio file you want attached to the lesson. Confirm selection. - Save the lesson
After the asset is attached, complete other lesson fields (title, lesson description, resources, access rules) and save or publish the lesson.
Notes on cross-account media
If you manage assets centrally and want to reuse them in subaccounts, confirm whether your HighLevel setup shares a centralized media library or requires copies per subaccount. Some setups enable shared agency media while others isolate media to subaccounts.
Supported File Types, Sizes, and Encoding Best Practices
Use the following guidelines to ensure smooth playback and reliable processing:
- Video formats: MP4 (H.264 codec) is recommended for maximum compatibility. Other formats may work but can cause transcoding delays.
- Audio formats: MP3 and AAC are widely supported. Use a constant bitrate for predictable file sizes.
- Resolution: 720p is often sufficient for course content; use 1080p only when necessary to reduce file size and bandwidth costs.
- Bitrate: For video, 3-5 Mbps for 720p; 5-10 Mbps for 1080p. For audio, 128-192 kbps is adequate for spoken-word content.
- File size limits: Check account limits—very large files may time out or require chunked upload. If a file is too large, compress or split it.
- Thumbnails: Upload a separate thumbnail image in the media library so lessons show a polished preview in course listings.
How This Differs from Uploading Directly into a Lesson
Importing from media storage links an existing file to the lesson, while uploading directly to a lesson creates a new copy attached only to that lesson. Benefits of using media storage include:
- Single source of truth for versions and updates.
- Reduced storage duplication and faster course builds.
- Easier updates: replace or update the media asset in one place and refresh linked lessons where supported.
- Better asset management for agencies delivering uniform content across multiple client accounts.
Three Practical Workflows Using Media Import
1. Repurposing a Webinar into a Mini-Course
- Upload the webinar recording to media storage.
- Create several lessons that import segments of the webinar (split the recording or create timestamps and host a single video per lesson).
- Use workflows to notify students when new lessons are published.
2. Podcast Episodes as Course Modules
- Store podcast MP3s in media storage and import them into lesson pages for an audio-only course.
- Pair each lesson with a transcript attachment and a quiz using HighLevel forms or automations.
3. Agency Template Library for Client Courses
- Maintain a centralized media folder with intros, legal disclaimers, and branding elements.
- Import those assets into client courses to ensure consistent brand presentation without reuploading files per client.
Integrating with HighLevel Workflows and Automations
After media is attached to lesson pages, you can use HighLevel workflows to automate learner communications and operations. Useful triggers and actions include:
- Triggers: Lesson published, student enrolled, lesson completed.
- Actions: Send email or SMS with lesson link, add contact tag, create task for instructor follow-up.
- Advanced: Use webhooks or API calls to sync lesson progress to external LMS or reporting tools.
Example automation: When a student completes a quiz, add a tag "completed-module-1" and send a congratulatory video message pulled from media storage.
Troubleshooting: Common Problems and How to Fix Them
Media option not visible
Confirm Labs is enabled and your user role has editing permissions. If Labs is already on, clear browser cache or try an incognito window to rule out UI caching issues.
Selected file does not play
Check file format and codec. If the file uses an uncommon codec, convert it to MP4 with H.264 for video or MP3/AAC for audio. Also verify the processing status in media storage—some files take time to transcode.
Start Your HighLevel Trial + Get Instant Nexus Hub Access
Build, scale, and optimize your business with HighLevel. Start a free trial using this link to get automatic access to the Nexus Hub community, templates, and implementation resources.
Start Free TrialImport fails for large files
Large files may time out or exceed account bandwidth. Compress the file, split it into smaller parts, or upload via an FTP/large-file method if available.
Changes to the original media not reflected
When you replace or update a media asset, browser caches and CDN propagation may delay updates. To force refresh, try renaming the file or replacing it and then re-attaching the updated file in the lesson.
Best Practices for Course Media Management
- Use a consistent naming convention including course code, lesson number, and a short descriptive title (for example: GHL-Course1_Lesson02_Intro.mp4).
- Organize media folders by course, client, or content type to speed search and avoid accidental reuse.
- Keep master files at the highest quality in an external archive and store compressed versions in HighLevel for delivery.
- Tag assets with keywords that match lesson topics so importing and searching is faster.
- Create thumbnails and metadata to improve learner experience and make lessons look professional.
- Test playback on desktop and mobile before releasing lessons to students.
Security, Compliance, and Access Controls
Consider privacy and compliance when storing media. For paid courses or materials with licensing restrictions:
- Limit media access to authenticated users when possible.
- Use HighLevel permissions to control who can view or import media across subaccounts.
- Maintain a record of who uploaded or modified assets for audit purposes.
Checklist Before Publishing Course Lessons That Use Imported Media
- Confirm Labs is enabled and permissions are set.
- Verify media file format and bitrate for compatibility.
- Attach a thumbnail and fill out lesson metadata.
- Run a playback test on desktop and at least one mobile device.
- Set up workflows for enrollment notifications and progress tracking.
- Check access settings to ensure only intended learners can view the lesson.
- Document the asset name and location in your agency or team knowledge base.
Performance Tips for Faster Course Load Times
- Optimize video size by reducing resolution where acceptable for learning outcomes.
- Use short videos rather than long files when possible. Shorter clips are faster to stream and easier to repurpose.
- Leverage CDN caching where available in HighLevel to improve global delivery.
- Compress audio for spoken-word content; high bitrates are rarely necessary for voice-only lessons.
When to Start a Centralized Media Library
If you manage more than a handful of courses or handle multiple client subaccounts, centralized media storage becomes essential. Benefits include lower storage costs, consistent updates across courses, faster onboarding for new clients, and fewer duplicate files. For agencies scaling course delivery and training programs, a central media hub within HighLevel paired with a documented workflow will save time and reduce mistakes.
How This Fits into Agency Scaling and HighLevel Best Practices
Agencies scaling their SaaS or training offerings can use import-from-media-storage as part of a repeatable system:
- Create a master content library for brand assets and recurring course content.
- Use standardized naming and folder structures per client template.
- Deploy course templates with pre-linked media where appropriate.
- Leverage HighLevel workflows to automate provisioning, student onboarding, and reporting.
- Document the process in the agency operations manual and include training for new team members.
Next Steps: Testing and Rollout
Start by testing the import process in a sandbox or a single subaccount. Validate media playback, access controls, and automations. Once tested, roll out to other courses using a checklist and a version control process so you can revert or update assets without disruption.
How do I enable the import-from-media-storage feature?
Enable the feature in the Labs area of your HighLevel account. Depending on your setup, you may need to toggle it at the agency level and in subaccounts. Confirm you have the correct user permissions to see and use the Labs features.
What formats work best for course videos and audio?
MP4 with H.264 is the recommended video format. For audio, MP3 or AAC provides broad compatibility. Use 720p resolution for most courses to balance quality and file size, and keep bitrates optimized for voice content.
Can I reuse the same media file across multiple client subaccounts?
Reuse depends on whether your HighLevel configuration shares a media library across subaccounts. Some agency setups allow centralized assets, while others require per-subaccount copies. If centralized sharing is available, you can import the same file into multiple courses without reuploading.
Why does my imported video not play immediately after attaching?
Media may require processing or transcoding after upload. Large files or nonstandard codecs can take extra time. If the file is processed but still won’t play, convert to a common format such as MP4 with H.264 and reattach.
How does using media storage reduce storage duplication?
Importing links the lesson to a single stored asset rather than creating additional copies for each lesson. This keeps one master file for updates and reduces duplicated storage used by multiple course uploads.
Can I automate notifications when a lesson with imported media is published?
Yes. Use HighLevel workflows to trigger notifications on lesson published or student enrollment events. Workflows can send emails, SMS messages, and add tags or tasks to manage learner engagement.
Summary and Actionable Next Steps
Importing audio and video from media storage into HighLevel courses streamlines content management, improves consistency across client subaccounts, and reduces redundant storage. To implement it successfully: enable Labs, verify permissions, standardize your media library, optimize files for web delivery, and integrate lesson publishing with workflows.
If you want to experiment with these features, consider starting a HighLevel free trial to test media imports, workflows, and course templates in a sandbox environment. Agencies can also speed implementation by joining Nexus Hub for templates, resources, and hands-on support to build repeatable course systems.
Start Your HighLevel Trial + Get Instant Nexus Hub Access
Build, scale, and optimize your business with HighLevel. Start a free trial using this link to get automatic access to the Nexus Hub community, templates, and implementation resources.
Start Free Trial


