
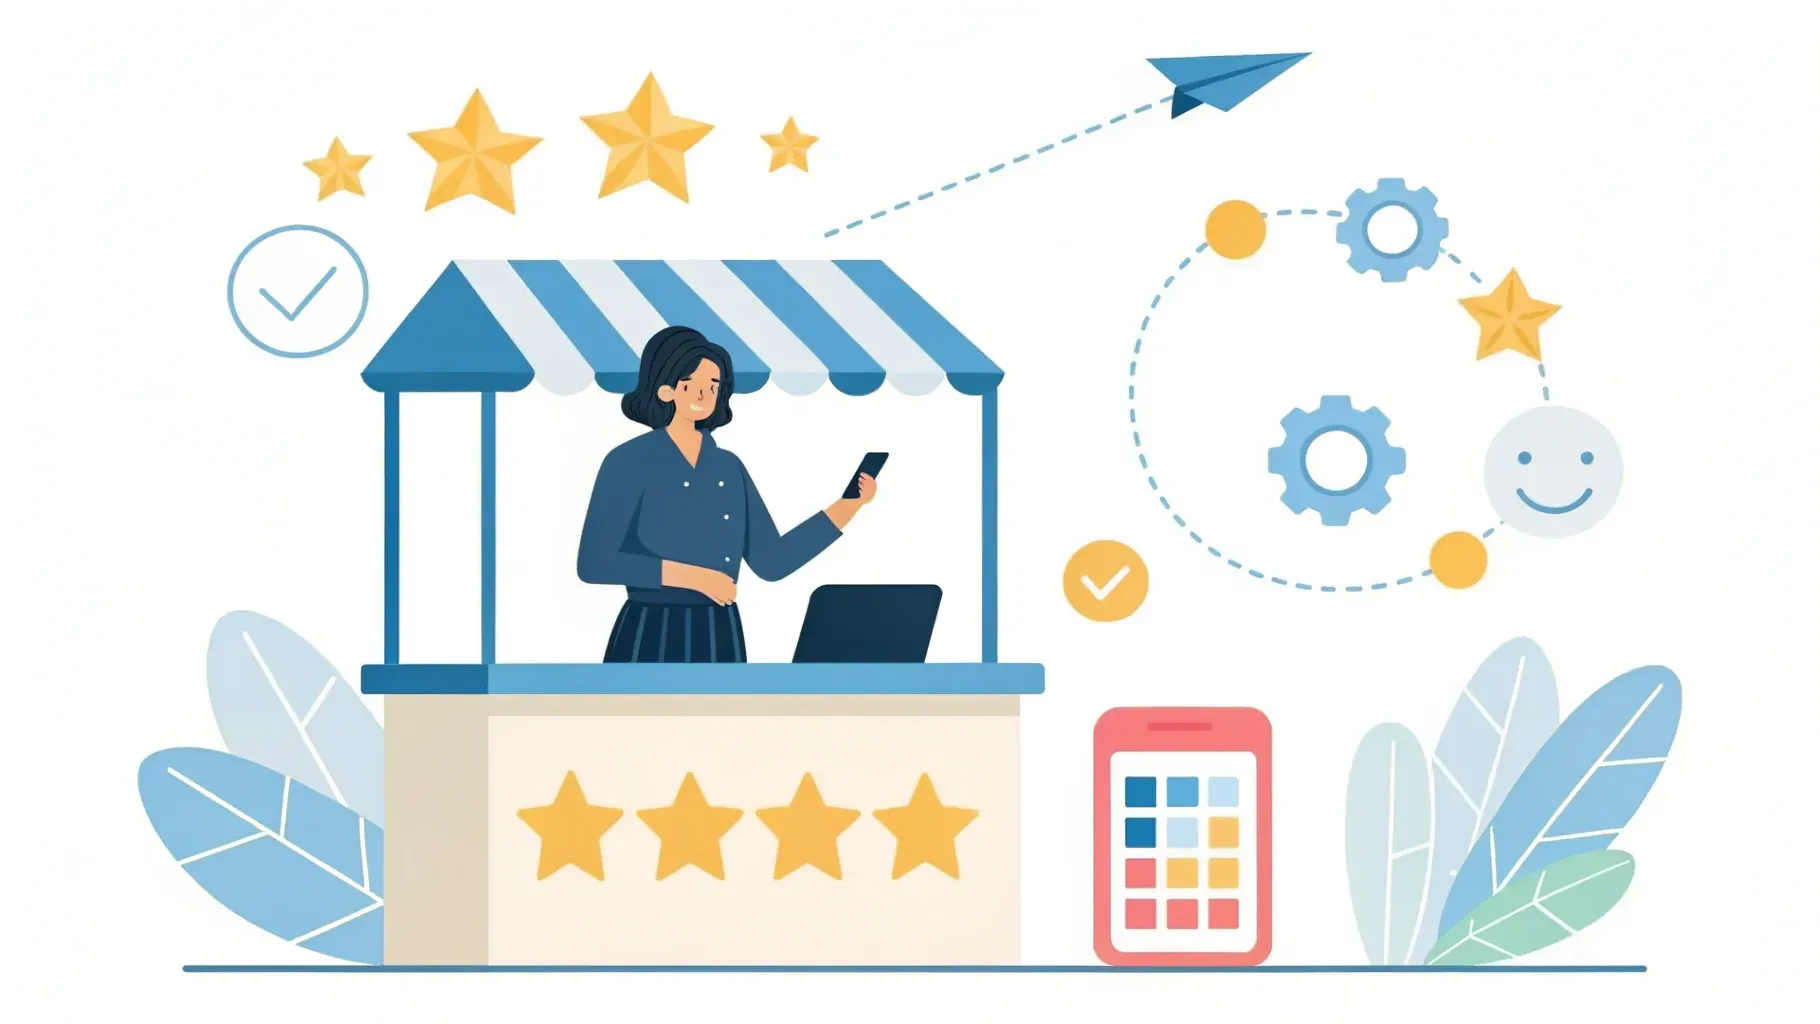
The Ultimate Guide to Reputation Management (Step By Step)


We recently published a practical walkthrough with Andrew George that shows how to automate review requests using the platform. In this guide we’ll expand on that step-by-step approach, explain why each choice matters, and give clear examples and best practices so you can set up a reputation system that saves time, increases five-star reviews, and reduces headaches for your team.
Table of Contents
- Why automated reputation management matters for small businesses
- Overview: what we’ll build
- Step 1 — Design the pipeline and stages
- Step 2 — Build the automation trigger
- Step 3 — Add wait timers and staging choices
- Step 4 — Configure review actions (SMS, email, messaging)
- Step 5 — Set the review link and reputation settings
- Step 6 — Feedback form logic (gating unhappy customers)
- Step 7 — Publish and test the automation
- Best practices and timing tips
- Common automation variations
- Measuring success: what to track
- Compliance and consent considerations
- Practical examples — templates and wording
- Troubleshooting common issues
- How this saves time and reduces tech headaches
- Case study: small service business example
- Implementation checklist
- FAQ
- Conclusion
Why automated reputation management matters for small businesses
Reputation is one of the most valuable assets a small business has. Positive reviews build trust, increase conversions, and improve discoverability. But collecting reviews consistently is hard when you’re busy running the business. Manual follow-ups fall through the cracks, inconsistent messaging looks unprofessional, and unhappy customers sometimes voice feedback publicly without giving you a chance to resolve the issue.
Automating review requests eliminates friction. The right automation sends the right message at the right time via the right channel, whether that’s SMS, email, or messaging apps. It helps us steer satisfied customers to public review pages while routing dissatisfied customers into private feedback so we can fix issues quickly. The result: more high-quality public reviews, fewer surprises, and more time to focus on growth.
Overview: what we’ll build
We’ll create a single automation tied to a sales pipeline that sends review requests when a contact becomes a customer. The automation will:
- Trigger when an opportunity moves to the “Customer” stage of a specific pipeline.
- Wait an optional delay (for example, 30 days after purchase) before sending the request.
- Send review requests via SMS, email, and optionally a messaging app.
- Use a configurable review link — either a public review page or an internal feedback form on our website.
- Support staff-specific review links if team members want their own profiles credited.
- Include logic for redirecting unhappy customers to private feedback instead of public reviews.
Step 1 — Design the pipeline and stages
Start by mapping your customer journey into a pipeline with clear stages. A minimal useful pipeline looks like this:
- Lead — new contacts or suspects
- Prospect — actively engaged, demo or quote given
- Customer — service delivered or sale completed
Why this matters: automations trigger off stage changes, so we only want review requests to fire when someone is truly a customer. We don’t want to ask a lead for a review. Keeping stages simple reduces mistakes and makes it clearer when automations should run.
Step 2 — Build the automation trigger
Open the automation builder in your platform and create a new automation. The trigger we’ll use is “pipeline stage changed” (or “opportunity stage changed” depending on terminology). Configure it with two filters:
- Select the specific pipeline you designed.
- Select the stage “Customer.”
Result: whenever an opportunity moves into the Customer stage in that pipeline, the automation will be evaluated and the next actions can run.
Step 3 — Add wait timers and staging choices
We recommend adding a wait timer before sending a review request. Common options:
- No wait: send immediately when they become a customer (useful for quick purchases).
- Short wait (3–7 days): good for products or services that require a few days to evaluate.
- Longer wait (30 days): ideal for services that need time to show results.
Example: if you offer an ongoing service, waiting 30 days gives the customer time to experience the value. For a one-time product, a 3–7 day window may be best. Use a delay action in the automation builder and set the appropriate timer.
Step 4 — Configure review actions (SMS, email, messaging)
We can send review requests via multiple channels. Create separate actions for each channel you want to use:
- SMS action: short, conversational message with a direct review link.
- Email action: longer message with branding, photos, and more context.
- Messaging app action: concise text appropriate for the app's tone.
It’s best to create independent actions for each channel rather than trying to send one message to every channel at once. That gives us the flexibility to test which channel gets the best response and to personalize messages for each medium.
SMS content example
SMS should be concise and action-oriented. Example copy:
Thanks for choosing us, {FirstName}! We’d love your feedback. Please take 30 seconds to rate your experience: [Review Link]
Keep it personal (merge the first name), clear (mention what the message is about), and short (fits in one SMS). Avoid asking too many questions or including long URLs that break formatting.
Email content example
Email allows for more context and branding. Example outline:
- Subject: Thank you — can we get your feedback?
- Greeting and thanks
- A line or two describing the value they received
- A clear call-to-action button or link: “Leave a review”
- Optional offering to help if they had any problems
Use a branded template, but keep the call-to-action prominent and easy to click from mobile devices.
Step 5 — Set the review link and reputation settings
The review link is the landing page you send people to when they click the CTA. You have two smart options:
- Public review page: send satisfied customers directly to a public review page on a search provider or business directory. This helps your public rating grow.
- Feedback form on your site: send customers to a form on your own domain that asks about satisfaction. Based on their response, redirect them either to the public review page (if positive) or to a private feedback thank-you page (so you can handle complaints).
How to choose: if you want more public reviews quickly, use the public review page but consider gating it with a feedback form to protect your rating. If you want to reduce negative reviews and collect actionable feedback, use the feedback form first and only send highly satisfied customers to the public page.
Staff-specific review links
If team members want credit for their work (for example, a specific technician or sales rep), the automation can support an override that inserts a staff-specific review link. Use this when individual profiles exist and you want reviews to appear under a particular team member’s listing.
Implementation: configure the automation action with an override field. If a staff override exists for a record, the automation will use their review link; otherwise it falls back to the default company review link.
Step 6 — Feedback form logic (gating unhappy customers)
This is one of the most powerful reputation strategies. Instead of sending everyone straight to a public review page, we place a quick feedback form between the user and the public review link.
Suggested feedback form workflow:
- Customer clicks the review CTA and lands on a feedback form on your domain.
- Question: “How satisfied are you with our service?” with options like Very Satisfied, Satisfied, Neutral, Unsatisfied.
- If they select Very Satisfied or Satisfied: present a link/button that redirects them to the public review page.
- If they select Neutral or Unsatisfied: present a private feedback form asking for details and offering immediate assistance (and optionally create a ticket for your team).
Benefits:
- Increases the percentage of positive reviews sent to public pages.
- Allows you to catch issues early and resolve them offline.
- Generates constructive feedback that improves your service.
Step 7 — Publish and test the automation
Before rolling out to all customers, test the automation end-to-end:
- Move a test opportunity into the Customer stage to ensure the trigger fires.
- Verify the wait timer (if configured) works.
- Confirm SMS, email, and messaging templates send correctly with merged fields (names, appointment details).
- Click the review link and verify the feedback gating logic and redirections.
- Test staff-specific overrides if you use them.
Testing prevents embarrassing mistakes like sending the wrong link, exposing private content, or publishing messages with missing personalization fields. It also ensures the user experience is smooth on both desktop and mobile.
Best practices and timing tips
Collecting reviews is part timing, part messaging, and part follow-through. Here are practical tips we use:
- Time it right: wait until the customer has had a reasonable chance to experience your product or service. For many services, 14–30 days works well.
- Personalize messages: include a first name and mention the product or service they purchased. Personalization increases response rates.
- Keep SMS short: SMS is powerful—short, friendly, and clear CTAs work best.
- Use email for storytelling: include a quick reminder of the benefits they received and a call-to-action that’s easy to find.
- Offer an escape hatch: allow customers to tell you if something went wrong so you can make it right before they post publicly.
- Respect frequency: don’t over-message. If a customer declines to leave a review, avoid automated repeat requests too often.
- Be transparent: make it obvious who is asking for the review and why—authenticity increases trust.
- Track outcomes: log which messages result in reviews so you can optimize subjects, timing, and channels.
Common automation variations
Depending on your business model and team size, here are variations you can implement:
- Immediate multi-channel blast: send SMS and email at once for higher visibility. Best for short sales cycles.
- Staggered outreach: send SMS first, then email if no response after X days. Helps avoid overwhelming customers.
- Segmented asks: only send review requests to customers above a certain spend threshold or those who purchased specific services.
- Staff recognition path: automatically send staff-specific links when a team member closed the deal or delivered the service.
- Subscription churn check: for recurring customers, ask for ongoing feedback periodically rather than after every billing cycle.
Measuring success: what to track
To measure the impact of your reputation automation, track these metrics:
- Review request sent rate: how many requests are being sent versus how many customers reached the Customer stage.
- Open/click rate: for emails and messages, measure how many recipients open the message and click the review link.
- Conversion to public review: what percentage of clicks result in a completed public review.
- Average rating: the average star rating over time — our core signal of reputation health.
- Feedback-to-ticket conversion: how many private feedback responses convert into internal service tickets and resolution.
Use these numbers to refine your messaging, change timing, and test different channels. Small improvements in conversion rates compound into significantly more public reviews over months.
Compliance and consent considerations
When sending automated messages, keep legal and ethical considerations in mind:
- Make sure you have consent to send SMS or messages—adhere to local regulations about text marketing.
- Provide an easy opt-out or unsubscribe option in email and messaging where required.
- Avoid overly aggressive follow-ups that create a negative impression.
- Store and handle feedback securely and responsibly.
Respectful communication protects your brand and improves long-term customer relationships.
Practical examples — templates and wording
Here are sample templates we use. Customize to match your tone of voice and customer base.
SMS Template (short and friendly)
Template:
Hi {FirstName} — thanks for choosing us! Could you spare 30 seconds to tell us about your experience? [Review Link]
Why it works: short, personal, clear CTA. Perfect for mobile users.
Email Template (branded and helpful)
Subject: How did we do? Quick feedback requested
Body:
Hi {FirstName},
Thank you for choosing our team for {Service/Product}. We hope it has made things easier for you. Could you take a minute to share your experience? Your feedback helps us improve and helps other customers make informed choices.
[Leave a review button — links to feedback form]
If anything wasn’t quite right, reply to this email or call us at [phone]. We’ll do our best to make it right.
Thanks again,
The Team
Troubleshooting common issues
If the automation doesn't behave as expected, check these areas first:
- Trigger configuration: ensure the pipeline and stage filters are set to the correct pipeline and stage name.
- Merge fields: confirm personalized fields like {FirstName} exist on the contact record; otherwise the message may look broken.
- Channel permissions: make sure SMS and messaging apps are enabled and have credits or permissions to send messages.
- Link redirect: verify the review link or feedback form URL is correct and publicly accessible.
- Test records: run tests with a dummy contact to verify the full path before enabling across all customers.
How this saves time and reduces tech headaches
When everything is consolidated in one solution, we eliminate several common pain points:
- No manual follow-ups: the automation handles the outreach so our team spends less time chasing reviews.
- Consistent messaging: everyone gets the same branded, professionally written ask instead of ad-hoc communications.
- One place for feedback: all responses and review results are logged in one system so we don’t lose context across apps.
- Simple pricing clarity: using a single platform reduces unexpected subscription overlaps and simplifies billing.
- Better prioritization: private feedback routes issues into the support queue, which helps us proactively resolve problems and protect public ratings.
Case study: small service business example
Imagine a small landscaping company with the following setup:
- Pipeline stages: Lead → Quote → Customer
- Automation trigger: Opportunity stage changed to Customer
- Delay: 14 days after service completion
- Messages: SMS + email, with a feedback form in between
- Outcome tracking: conversion to public reviews and average rating
After implementing this workflow, they saw a noticeable increase in public reviews because satisfied clients were guided to the review page at the right time. Unhappy clients were captured by the feedback form and resolved privately, improving retention and reducing negative public posts. The team spent less time manually requesting reviews and more time doing quality work.
Implementation checklist
Use this checklist to get your reputation automation live:
- Define your pipeline and stages (ensure a clear Customer stage).
- Create an automation with a “pipeline stage changed” trigger filtered to Customer.
- Add a wait/delay action if appropriate.
- Build SMS, email, and messaging templates with clear CTAs.
- Create a feedback form on your domain and decide on redirect logic.
- Set default review links and staff-specific overrides if needed.
- Test the automation end-to-end with a sample contact.
- Publish the automation and monitor metrics (send rate, click rate, review conversions).
- Iterate on messaging and timing based on performance data.
FAQ
Q: When should we ask for a review?
A: Ask when the customer has had enough time to experience the value of your product or service. Typical windows are 3–7 days for quick purchases, and 14–30 days for services or products that need time to show results. Use a delay in the automation to control timing.
Q: Should we send requests via SMS, email, or both?
A: Both have strengths. SMS gets higher open rates and is great for quick asks. Email allows for more detail and branding. We recommend testing both: start with SMS and follow up with email if no response, or send both at once for short sales cycles.
Q: How do we prevent negative reviews?
A: Don’t try to prevent honest feedback — instead, gate public review requests behind a satisfaction question. Redirect neutral or unhappy customers to a private feedback form and resolve their issues before they post publicly. This both protects your public rating and helps you improve operations.
Q: Can we personalize review requests for staff members?
A: Yes. Use an override mechanism to insert staff-specific review links when appropriate. If a staff member handled the sale or service, their personal link can be used so the review is associated with them.
Q: What metrics should we track?
A: Track review requests sent, open and click rates, conversion to public reviews, average rating, and private feedback-to-ticket conversion. These metrics show how well the automation is performing and where to optimize.
Q: Is automation respectful of customer consent?
A: It should be. Make sure you have permission to send messages (especially SMS) and include clear opt-outs where required. Don’t over-message customers; implement reasonable frequency limits.
Conclusion
Automating review requests is one of the highest-leverage ways to improve your online reputation without adding more work to the team. By triggering outreach when an opportunity becomes a customer, using wait timers, and gating public review links with a feedback form, we increase the quality and quantity of public reviews while protecting our brand from negative public posts.
Keep the process simple, personalize messages, test different channels, and track outcomes. With a single well-designed automation and a clear pipeline, you can collect more five-star reviews, streamline follow-up, and free your team to focus on delivering great service.
If you'd like help designing a setup that fits your workflow or want a checklist tailored to your business, let us know what industry you’re in and we’ll share specific recommendations based on what’s worked for similar teams.


